Blog

Tips for Painting Sloped Ceilings in multi-level homes
“Ceilings, regardless of pitch, are a pain in the neck.” - Every painter ever.
Tips for Painting Sloped Ceilings in multi-level homes
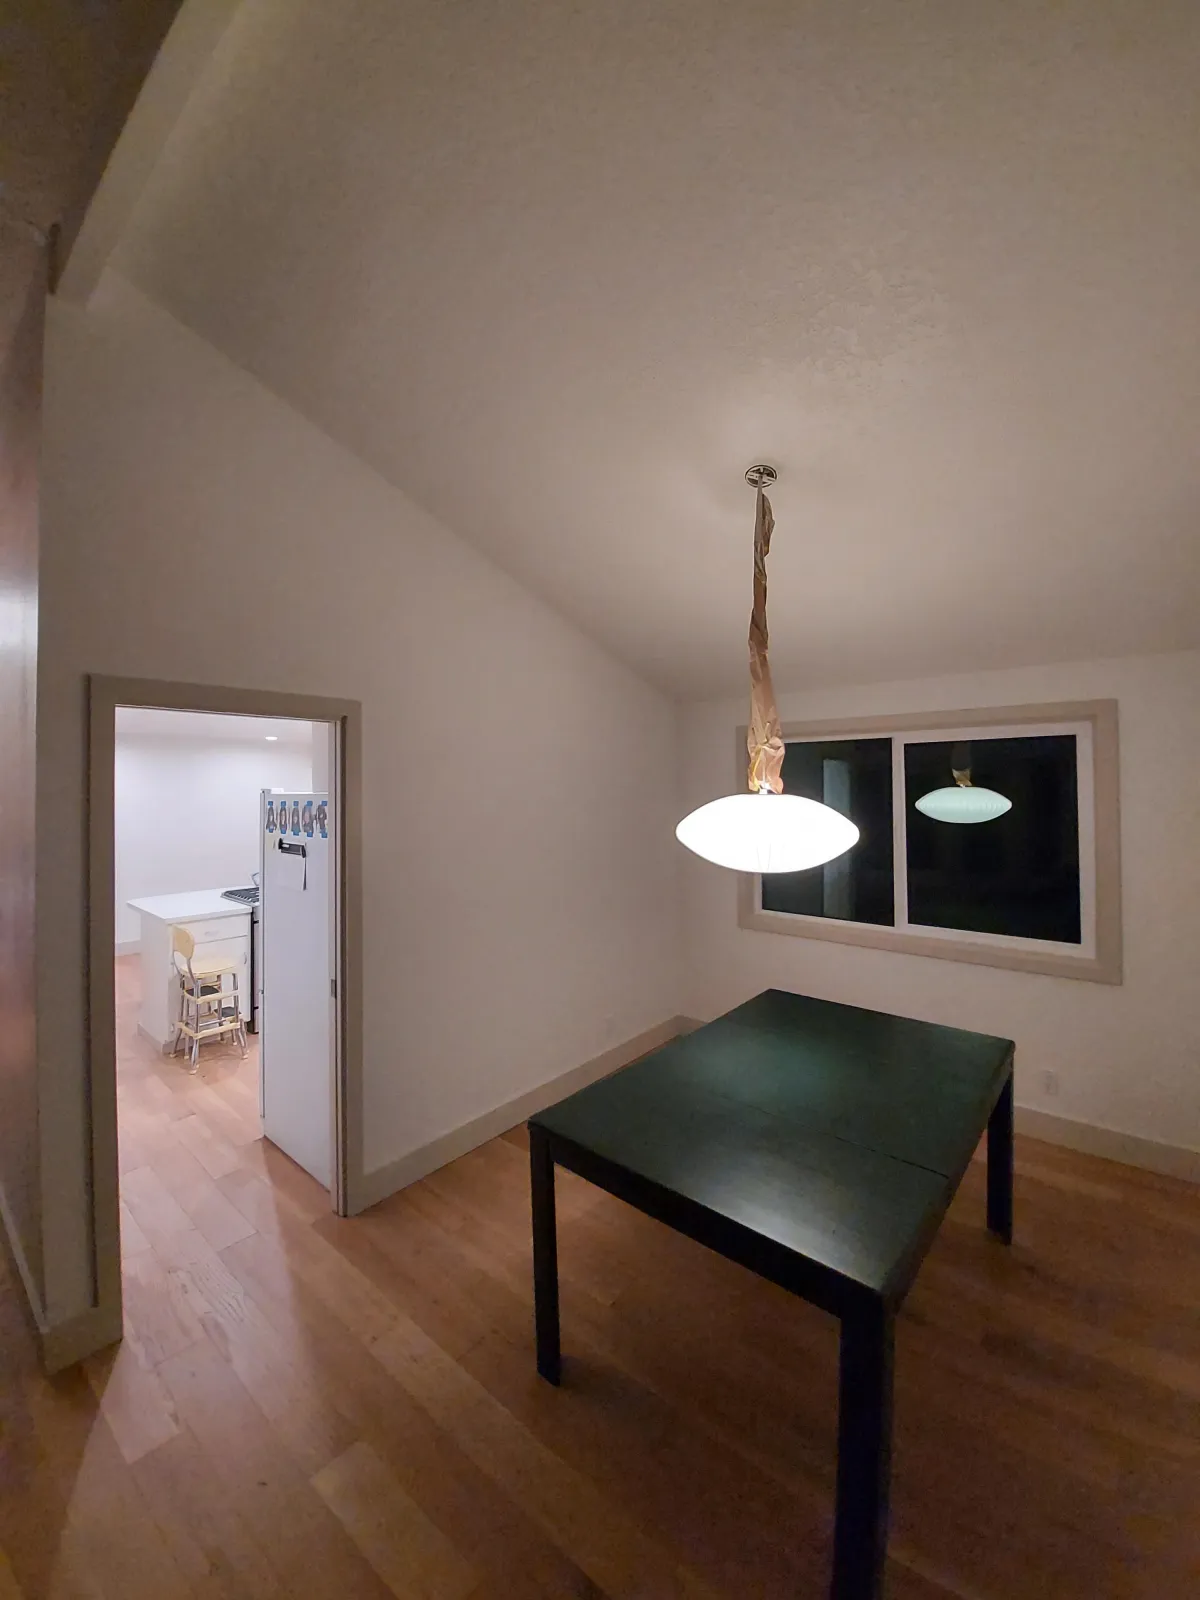
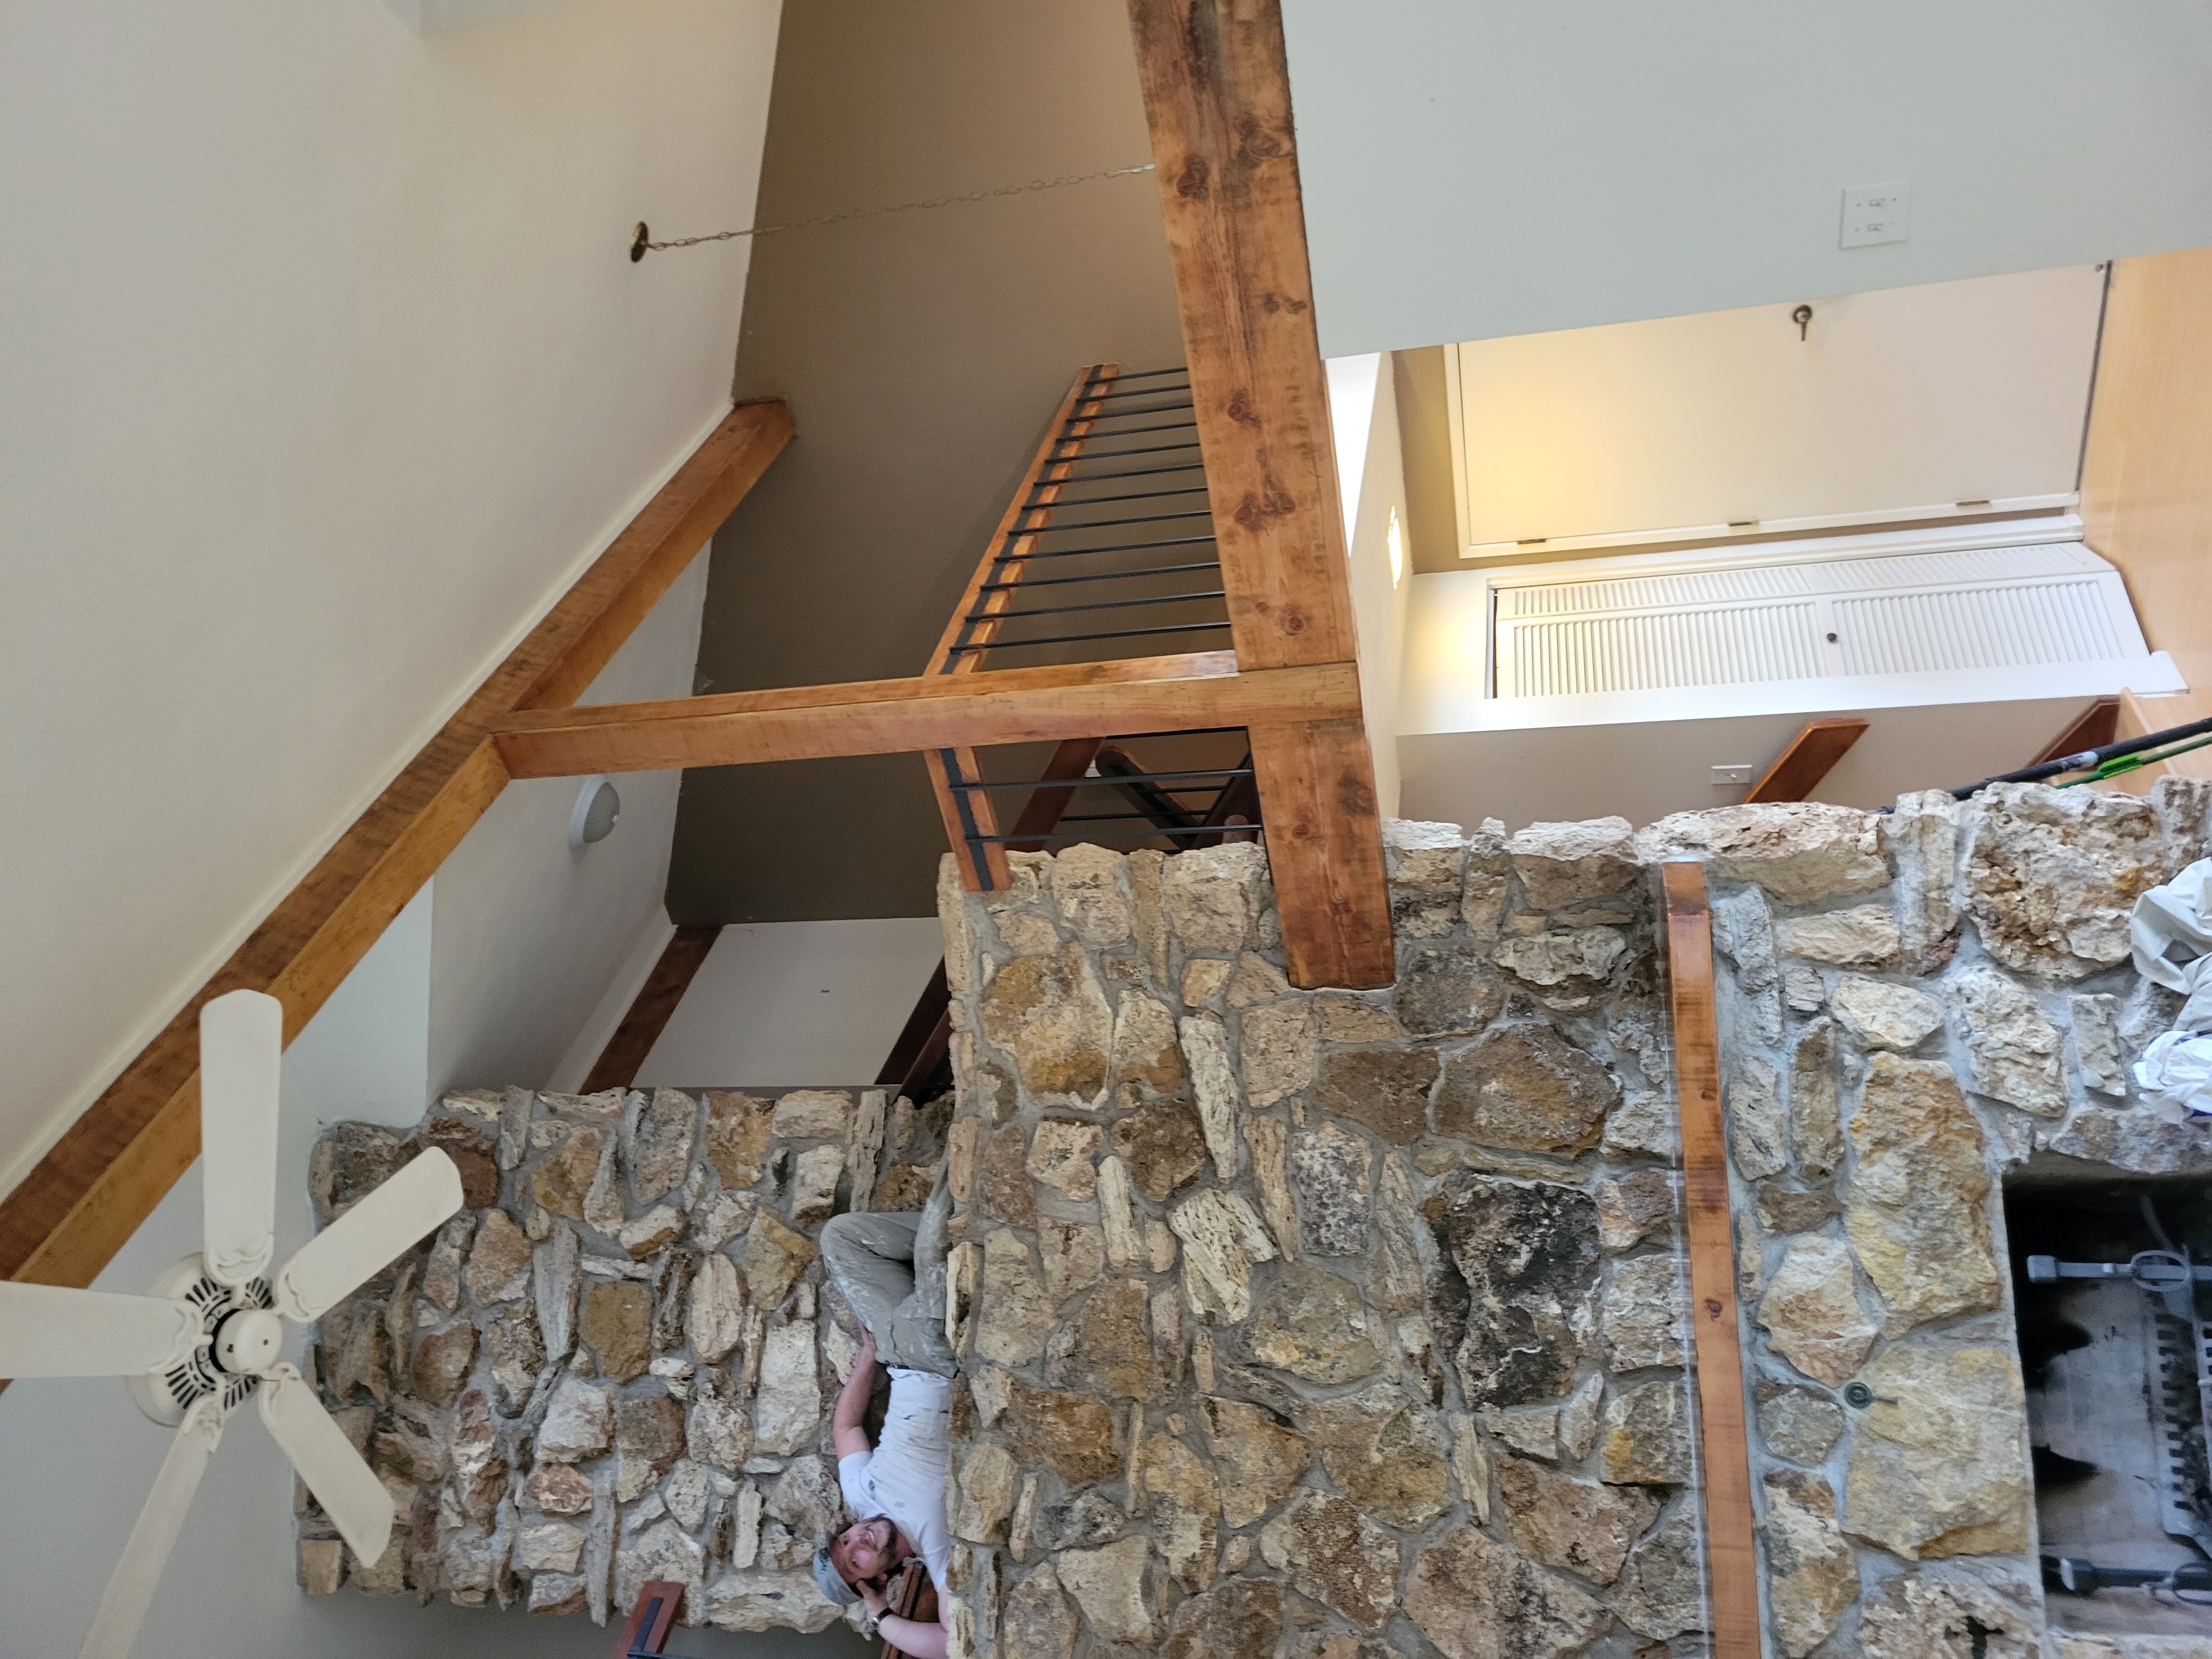
It is quite challenging to paint a sloped ceiling, especially for homeowners who prefer to do this task themselves. Besides the rising and falling angles that call for careful trimming, sloped ceilings require more attention to details when it comes to choosing appropriate colors. Sloping areas have different angles and shadows that will show the color differently. While Sloped ceilings do present some challenges they can be very aesthetically pleasing as they give rooms a much more open feel.

Material Requirements for Painting
You will need the following tools and materials before beginning your painting project:
-Extension Ladder or Adjustable Ladder: A sturdy ladder that reaches sloped and higher ceiling angles.
Primer: To ensure good paint adhesion, especially if painting over a darker color or stained surface.
Measuring Tape: To calculate surface area and determine paint quantities.
Paint Stirring Sticks: For mixing paint thoroughly.
Angled Paint Brush: For precise trimming along ceiling angles.
Roller with Extension Pole: To reach high or angled areas with less strain.
Drop Cloth or Painter’s Plastic: To protect floors and furniture.
Cleaning Rags and Mild Detergent: For cleaning dust or grease from the ceiling.
Painter’s Tape: To seal off edges of walls, fixtures, and areas not being painted.
Painter’s Plastic: To cover walls, fixtures, and areas not being painted.
Interior Paint: Choose a suitable finish, like flat or satin.
Paint Tray with Liner: For ease when using a roller.
Here are quick tips on how to paint sloped ceilings
1. Choose the Appropriate Type of Interior Wall Paint
The type of interior wall paint determines the appearance of the paint on the final product. Flat or satin are some of the recommended options you can choose from. Make sure that the paint that is being applied to the sloped ceiling compliments the paint on the walls. Determine the quantity of paint you will require to complete painting the ceiling.
Here is a quick formula you can use to calculate you paint needs.
2. Select the Best Color
Choosing the right color for your sloped ceiling can transform the feel of the room. Although most ceilings are painted white to create a neutral backdrop, extending your wall color onto the ceiling can create unique effects.
If your wall color is very light and neutral (like soft grays, whites, or beiges), consider carrying this color onto the ceiling. This can make the ceiling blend seamlessly with the walls, giving the room an open and cohesive feel.
For a low or sloped ceiling: Choose a lighter shade to give the illusion of more height, which makes the room feel larger.
If you want a cozier look: Use a slightly darker color, especially in spaces like studies or foyers. Darker shades can add depth and a warm, enveloping feel.
By carefully considering your ceiling and wall colors together, you can create a balanced and harmonious look that enhances the architectural style of the space.
3. Covering
Using Painter’s tape, Painter’s plastic and/or drop clothes, seal off the boundaries of the walls and other areas that you want to avoid when painting. These include windows, outlets, lights and vents among others. If you are only painting the ceiling you’ll want to cover the walls and anything below the ceiling because the paint always splatters a little bit.
The drop clothes are ideal for floor coverings or large furniture due to the added mass they have over the plastic. You will be surprised how little air movement it takes to move the plastic and you’ll be happy you spent the extra money on the drop clothes.
5. Clean the Sloped Ceiling
SImply dusting before painting is often enough if the ceiling has a flat finish, but in areas like
kitchens and bathroom it is a good idea to use a clean rag with a mixture of warm water and
dish soap, clean the entire surface of the sloped ceiling to make sure that it is completely clean
and free from dust. In the kitchens and bathrooms, give it time to dry entirely before proceeding with the painting process.
6. Apply the Paint
Prepare Your Materials: Gather your paint tray with a liner, paint, primer (if needed), stirring sticks, an angled brush, and a roller with an extension pole.
Mix the Paint Thoroughly: Use the stirring stick to mix your paint in the can to ensure a consistent color and texture.
Pour the Paint: Pour a moderate amount of paint into the tray, being careful not to overfill.
Start with the Edges: Dip your angled brush about one to two inches into the paint and carefully paint along the edges, corners, and any sloped areas where the roller can’t reach. Take your time to create clean, straight lines.
Use the Roller for Larger Areas: Attach the roller to the extension pole for easier reach and load it with paint by rolling it gently in the tray. Apply the paint to the ceiling with extended, even strokes, moving in one direction to avoid lap marks and ensure a smooth finish.
Let the Paint Dry: Follow the drying time recommended by the manufacturer before applying the second coat. This ensures even coverage and prevents streaks.
Apply a Second Coat if Needed: Once the first coat is fully dry, repeat the process to ensure solid, even coverage across the entire ceiling.
Professional paint companies will always apply two coats of paint to all surfaces.
By following these steps, you’ll achieve a smooth, professional finish on your sloped ceiling!
Painting Tips
Keep a Wet Rag Handy: Always have a wet rag with you during the painting process. This will allow you to quickly clean up any mistakes, such as accidentally painting beyond the lines on intricate surfaces.
Paint in the Right Order: When painting an entire room, start with the ceiling before moving on to the walls. This ensures a smoother finish and minimizes the risk of drips or splatters on freshly painted walls.
Safety Precautions
Ensure Proper Ventilation: If you find the paint odors bothersome or if you’re using a non-Latex base, it's essential to maintain adequate airflow in the workspace. Open windows and doors, or use fans to help dissipate fumes.
Wear Protective Gear: Always put on protective gear, such as masks and goggles, to shield yourself from paint particles and harmful chemicals.
Follow Manufacturer Instructions: Adhere to all instructions provided by the manufacturers of your primer and paint for the best results and to ensure safety.
By following these tips for painting sloped ceilings, you can achieve a high-quality and long-lasting finish. If you find the process too challenging, consider enlisting the services of a professional painter to ensure the job is done right.

Copyright 2025 Sir Paints A Lot. All rights reserved. CCB# 245616. 2510 W 5th Ave #6, Eugene, OR 97402
